luckybites
  • home
  • about
  • buzz
  • recipes
  • contact
  • shop
  • home
  • about
  • buzz
  • recipes
  • contact
  • shop
where design + flavor intersect

Double Chocolate Marble Pound Cake

1/7/2019

0 Comments

 
Picture
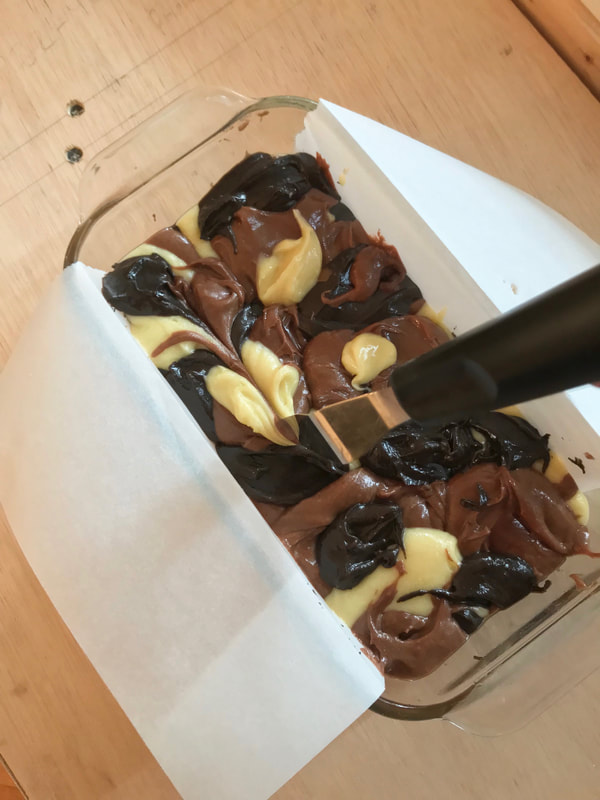
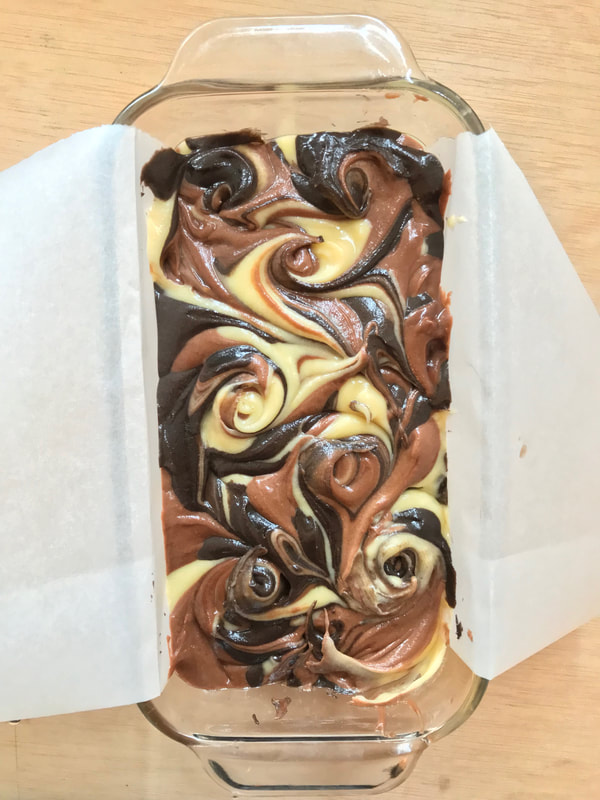
I usually stick to cookies so please bear with me on this one. if you make this recipe, any feedback would be appreciated!
things to note:
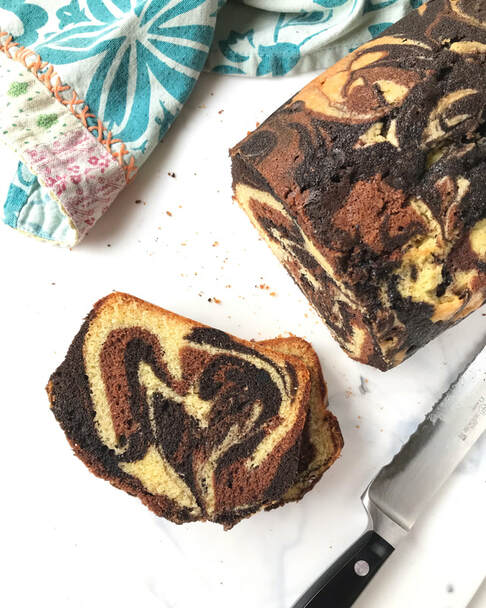
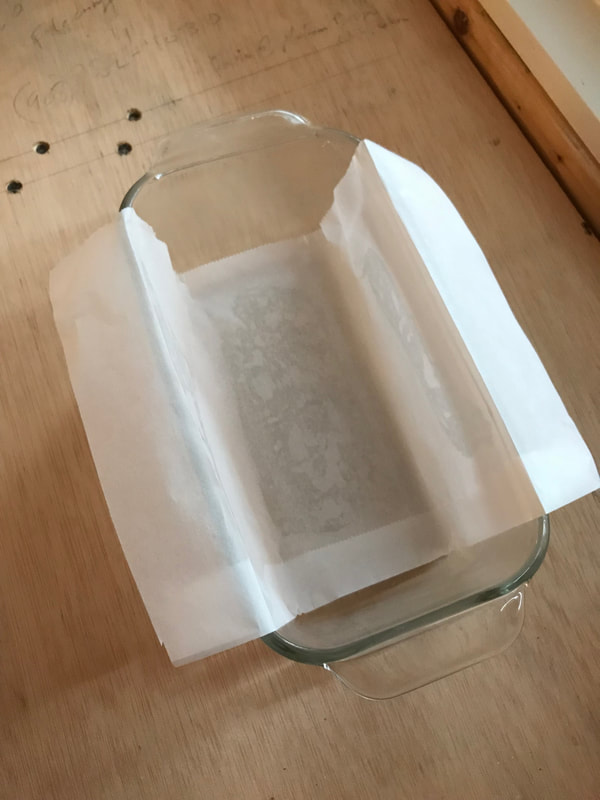
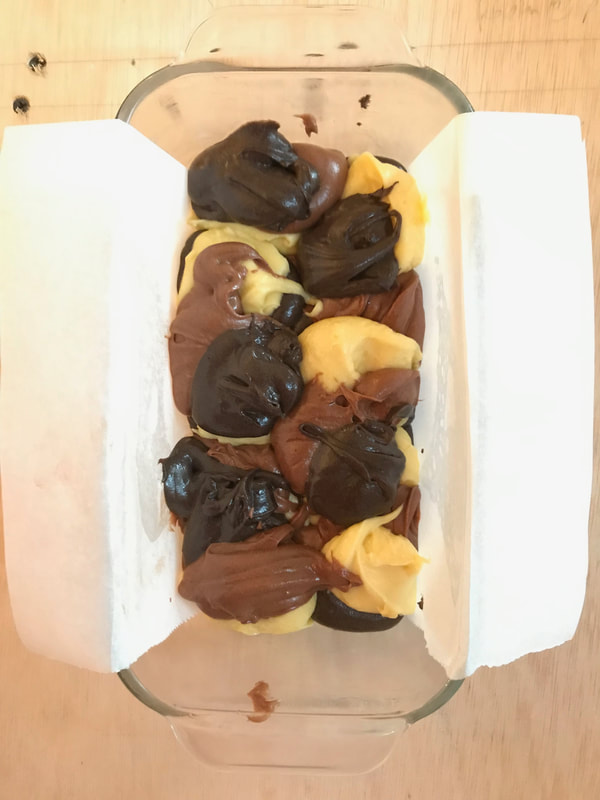
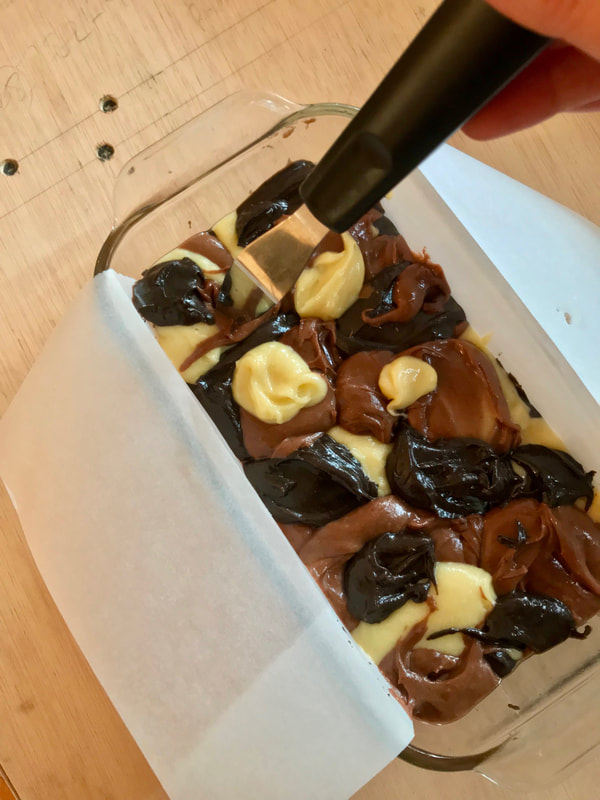
  • cocoa powder: dutch-process is needed for cake to bake properly, so don't substitute with natural cocoa. and the black cocoa is needed to get the darkest shade in the pattern. you can get these in my amazon shop!
  • cake flour: it's super expensive and most people don't have it in their pantry (including me!), so i gave you a substitution option below.
  • butter: make sure melted butter is completely cool so it doesn't cook the eggs.
  • swirling: resist the urge to over-swirl the batter, or else you'll lose the color contrast and the pattern. you'll have a boring-looking (but tasty) solid milk chocolate cake. :-)​ see pix at bottom.
  • pan: i used an 8.5" x 4.5" loaf pan here. 9" x 5" will work, too, but just know that the loaf will be shallower and less domed.
  • baking time: ​a metal pan will bake faster than glass, and each oven is different. so baking times will vary wildly. because of this, the skewer test (described in recipe) will be your best friend. if using the same skewer you swirled with, make sure it's clean and dry.

Yield: one loaf

​Ingredients:
8 oz. unsalted butter, melted
1 1/4 cup granulated sugar
1 tsp. vanilla extract
1 tsp baking powder
1/2 tsp. salt
4 eggs, room temperature
​1 tbsp + 2 tsp black cocoa
  
​1 tbsp + 1 tsp dutch-process cocoa 
1 ½ cups cake flour; OR 1 ½ cups all purpose flour, less 3 tbsp, plus 3 tbsp cornstarch

Tools:
8.5" x 4.5" loaf pan
parchment paper
skewer or thin knife
3 mixing bowls
3 spoons or spoonulas (my fav!)


Method:
  1. Preheat oven to 350° with rack at center of oven. 
  2. melt butter, reserving butter wrappers. if microwaving, should be at 50% power in microwave safe measuring cup (makes it easier to pour later). stir butter to combine solids with fat. let cool.
  3. in a medium bowl, sift flour, (cornstarch, if using), baking powder and salt. set aside.
  4. In a large bowl, whisk sugar, vanilla extract and eggs. scrape down sides of bowl.
  5. give butter another stir to combine solids with fat. make sure it's completely cool. slowly pour butter into sugar mixture, mixing constantly. reserve measuring cup.
  6. With mixer set at lowest speed, slowly add sifted dry ingredients to wet ingredients until just combined. Do not over mix.
  7. grease pan with any excess melted butter in measuring cup. using butter wrappers, rub interior of pan to completely coat with butter. Line pan with parchment paper sling (this will help you lift cake out of pan later).
  8. remove 1 cup of batter and put in a separate mixing bowl. remove a second cup of batter and put in another mixing bowl. you will now have 3 bowls of batter.
  9. in original bowl, add dutch-process cocoa at lowest speed. mix until just combined. Do not over mix. set this bowl aside.
  10. in second bowl, add black cocoa at lowest speed. mix until just combined. Do not over mix. set this bowl aside.
  11. you now have three batter flavors: vanilla, milk chocolate and dark chocolate.
  12. with three different spoons, spoon "blobs' of batter into prepared pan. no need to measure but each blob should be 1/8-1/4 cup. alternate between the three flavors, so different colors are next to each other. this will help create the swirled pattern later. continue spooning batter, alternating flavors so different colors are on top of each other. ​ see pix at bottom.
  13. gently tap pan, and shake pan to side, so batter settles.
  14. insert skewer or thin knife all the way to bottom of pan. swirl batter, creating repeating S patterns, drawing lines vertically, and then horizontally. go ONLY once in each direction. feel free to add some swirls on top like i did (last pic below), but, again, serious self-restraint is needed to avoid over-swirling. so tempting!
  15. Bake for 30 minutes. then carefully rotate pan and tent with aluminum foil.
  16. Bake for 40-55 more minutes, until a clean/dry skewer inserted in middle (all the way to bottom) comes out completely clean. the skewer test is the most important test for doneness.
  17. Let cool completely. insert knife at either end of pan (parts without paper) to gently loosen cake. remove cake from pan by lifting paper sling.
  18. ​store completely cooled cake airtight at room temp. best consumed the same day, but will be yummy the next morning with coffee. :-)
Picture
Picture
Picture
Picture
Picture
Picture
0 Comments


Leave a Reply.

    I'm part of the Amazon Influencer Program, which basically means you can find my favorite baking tools all in one place! When you go to my shop, you'll see what I recommend, complete with helpful tips in the comments. Amazon gives me a small fee for any items purchased through my storefront, at no extra cost to you. Click the button below to access my shop!
    Picture

    Archives

    January 2022
    December 2020
    September 2020
    August 2020
    April 2020
    April 2019
    January 2019
    December 2018
    November 2018
    October 2018
    June 2018
    September 2017
    January 2017

    RSS Feed

    Categories

    All
    Almond
    Breakfast
    Brunch
    Cake
    Chocolate
    Citrus
    Cocoa
    Cookies
    Decor
    Decorated Cookies
    Edible Flowers
    Fruit
    Granola
    Herbs
    Holiday Cookies
    Icebox Cakes
    Icing Cookies
    Jam Cookies
    Lemon
    Linzer
    Marshmallow
    No Bake
    Olive Oil
    Royal Icing
    Sandwich Cookies
    Shortbread
    S'mores
    Snack
    Spices
    Sprinkles
    Stamped Cookies
    Sugar Cookies
    Vegan